

How to Create & Use Tags
Tag contacts with flexible, many-to-many labels for segmentation, automation conditions, and campaign targeting.
Beginner 3 min read
Tutorial video coming soon
What You'll Learn
In this tutorial you'll learn:
- Create a colour-coded contact tag
- Apply and remove tags on a contact
Step-by-Step Guide
1
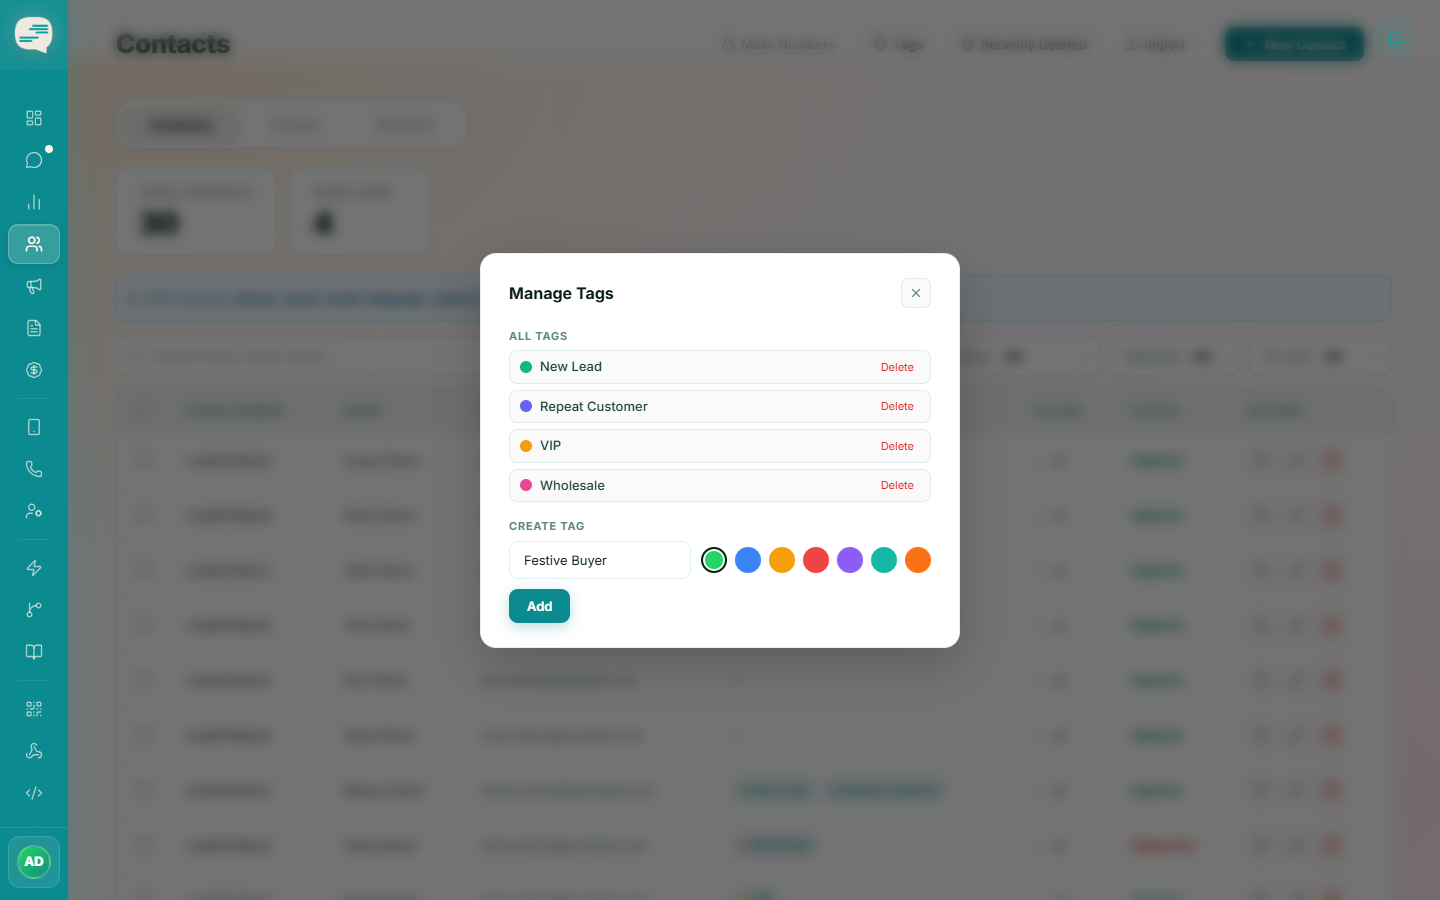
Create a tag
Dashboard → Contacts → Tags
Give it a name and colour.
2
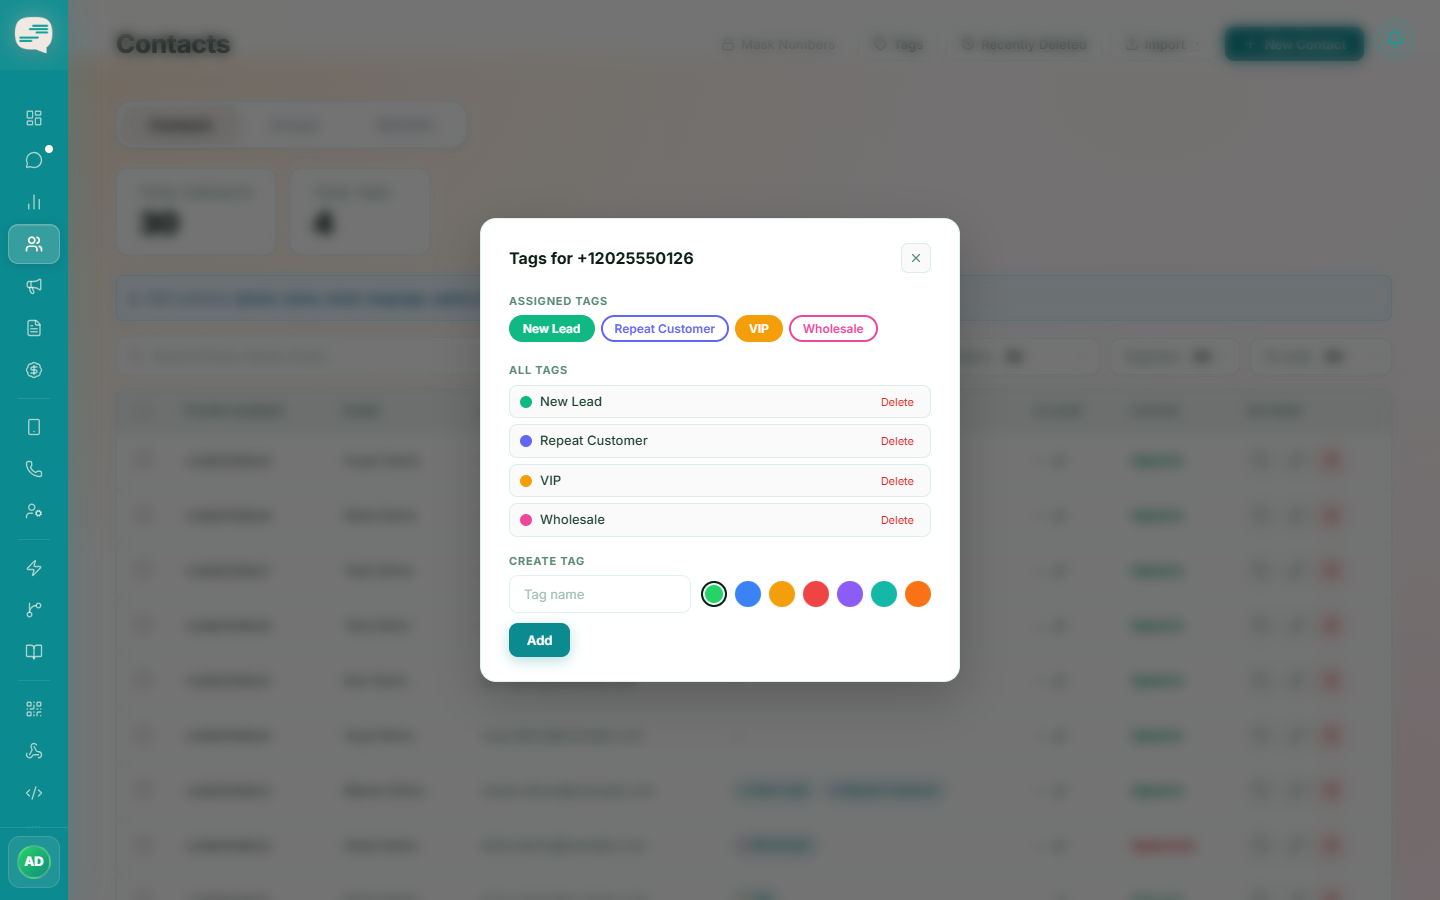
Apply it to a contact
Open a contact's detail view and add one or more tags — unlike Groups, a contact can carry any number of tags at once.
Tip
Tags can be used as a condition in Automation rules (e.g. only reply automatically to contacts tagged "VIP") and as a way to select campaign recipients.