

How to Connect WhatsApp Business with Vaaniq
An overview of the three ways to connect a WhatsApp Business Account (WABA) to Vaaniq, and which one to pick.
Tutorial video coming soon
What You'll Learn
In this tutorial you'll learn:
- Understand the three ways to connect a WhatsApp Business Account
- Know which option to use for your situation
- Find where connected WABAs and their phone numbers appear
Prerequisites
Before you start:
- A Vaaniq account
Step-by-Step Guide
Open WABA Accounts
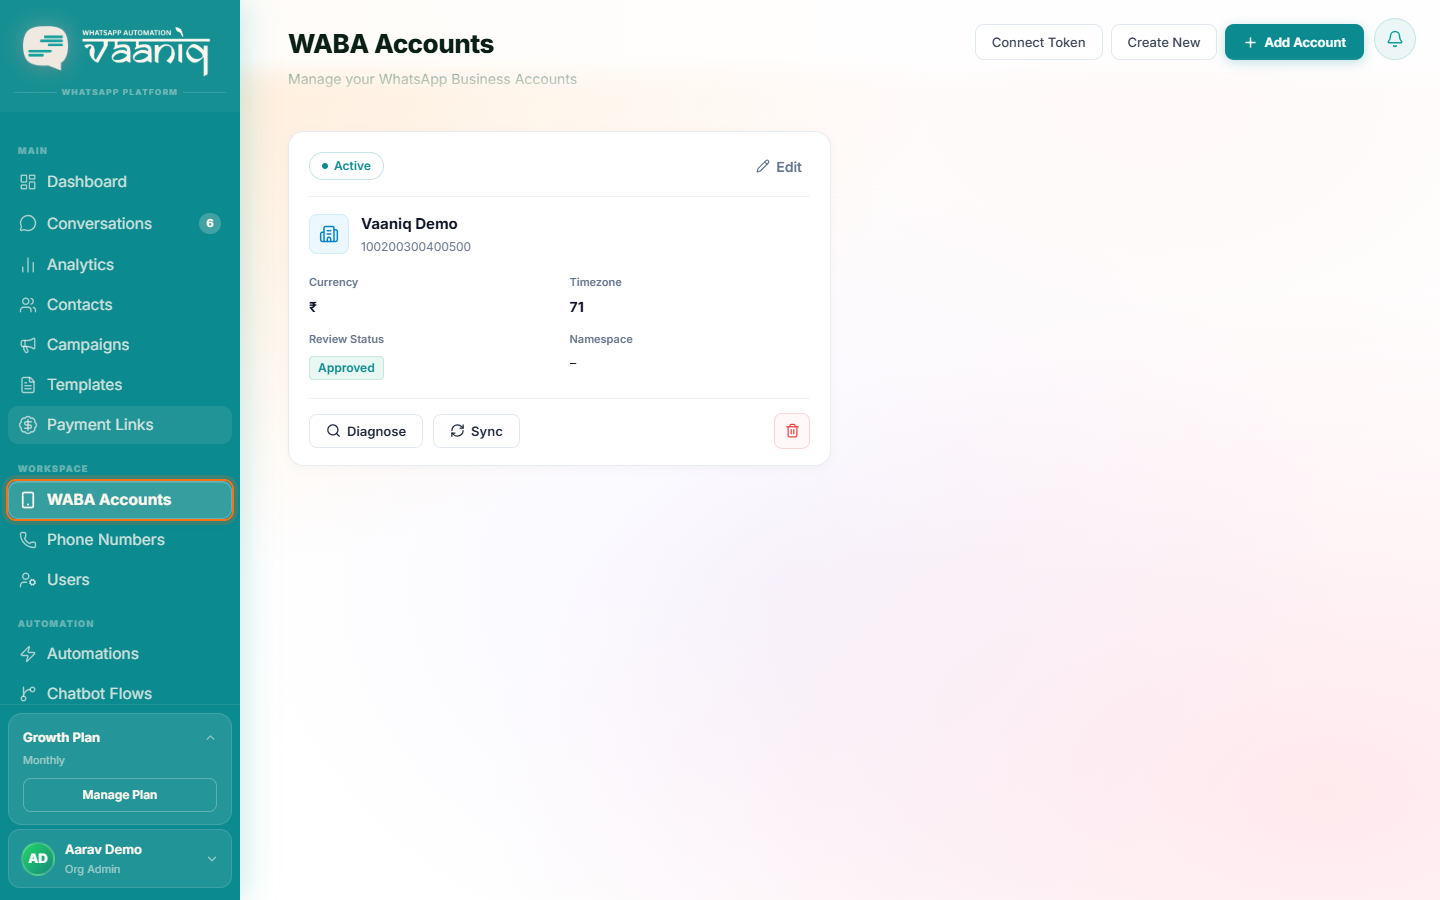
From the sidebar, go to WABA Accounts and click Add Account. You'll see three connection options.
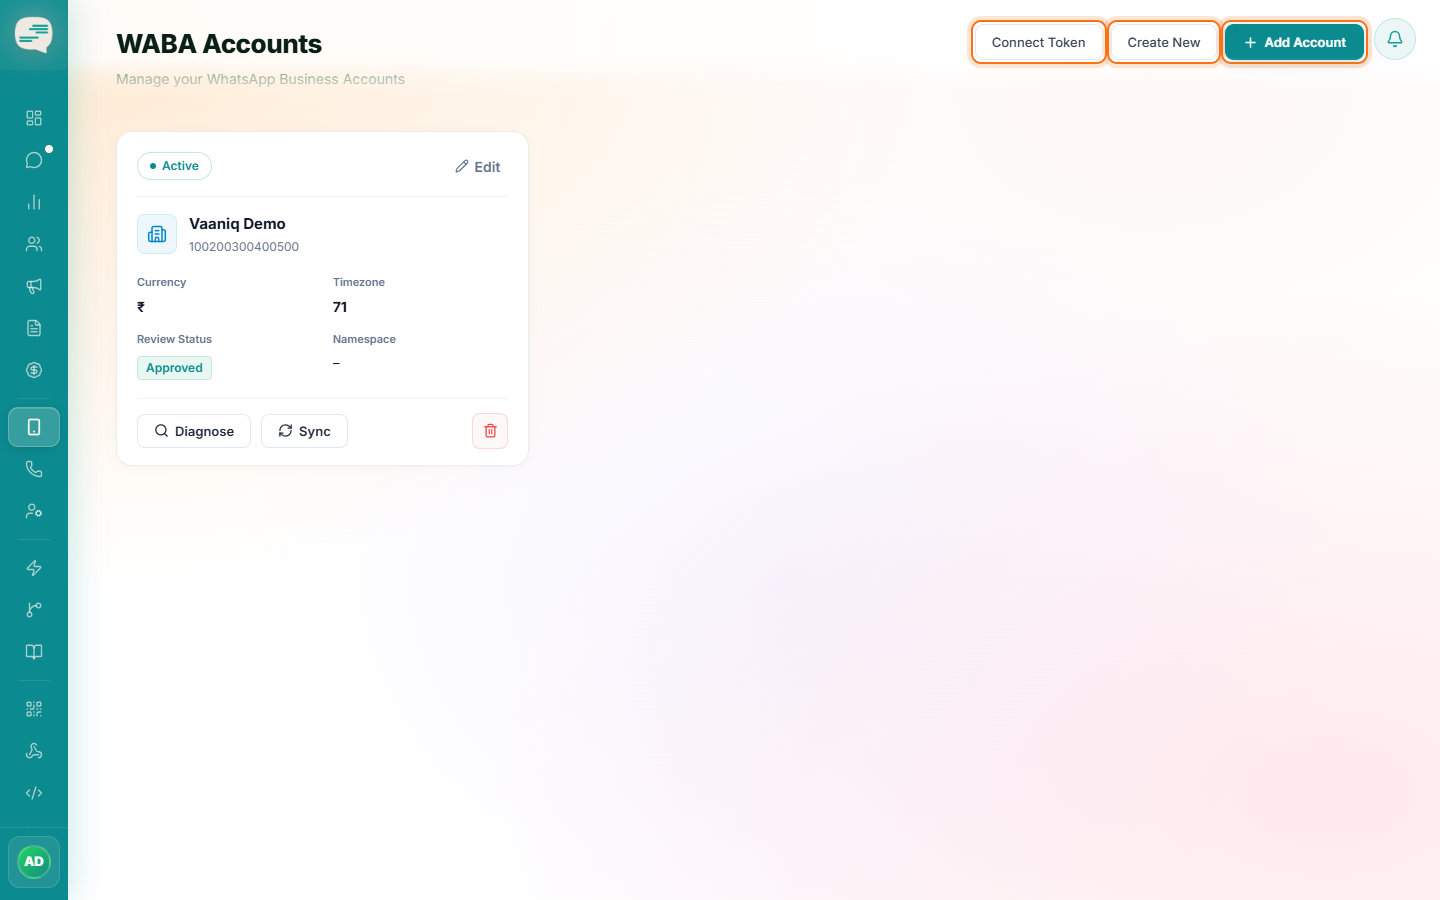
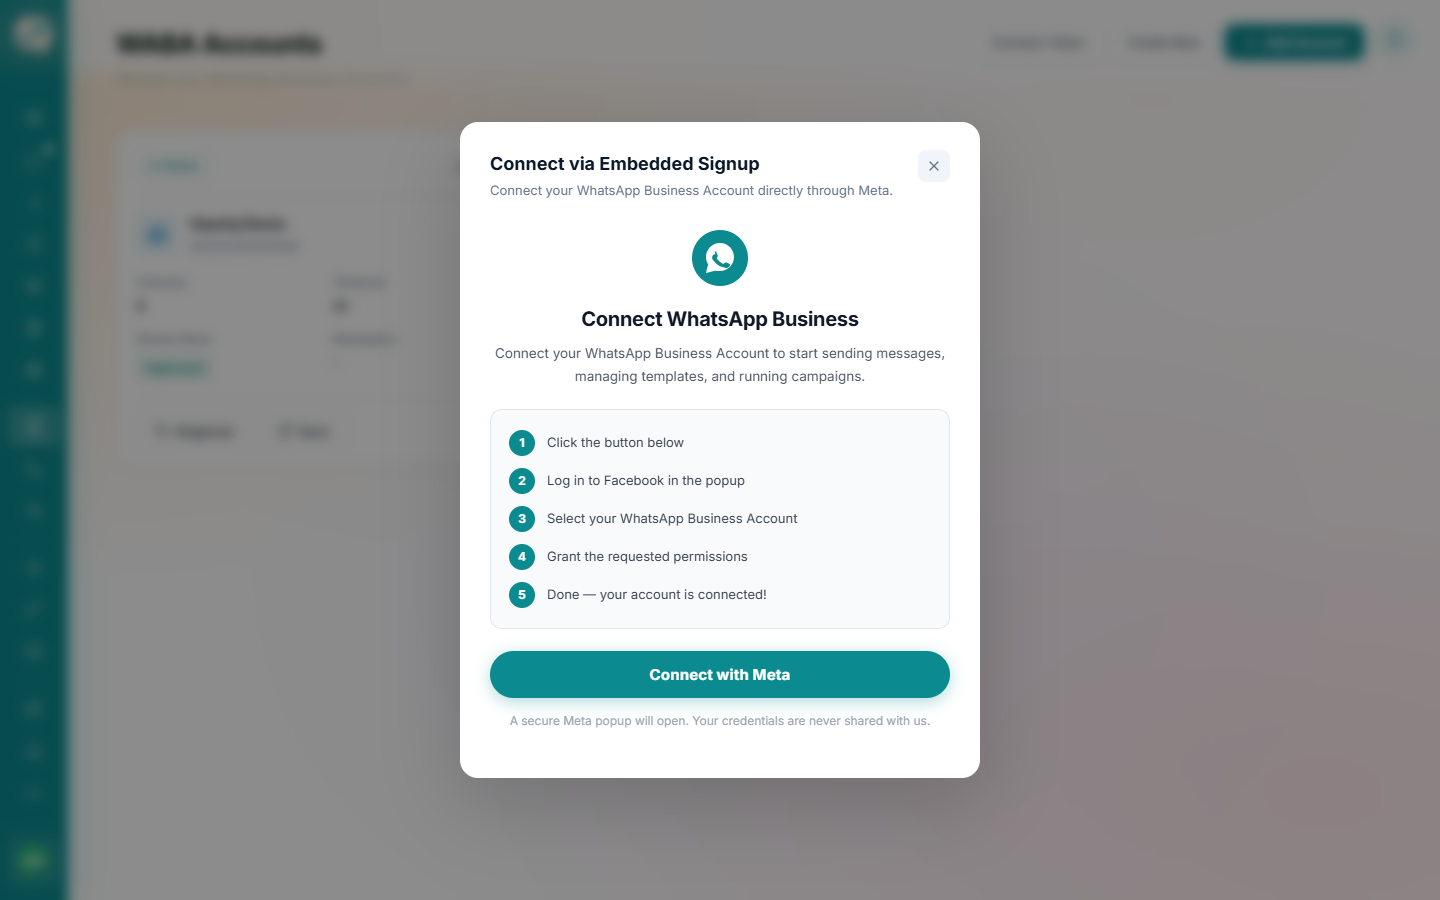
Choose Embedded Signup (recommended)
Meta's guided popup flow. It walks you through logging into Facebook, picking or creating a Business Manager, and connecting (or purchasing) a phone number — all in one flow. This is the right choice for almost everyone. See the dedicated Embedded Signup tutorial for the full step-by-step walkthrough.
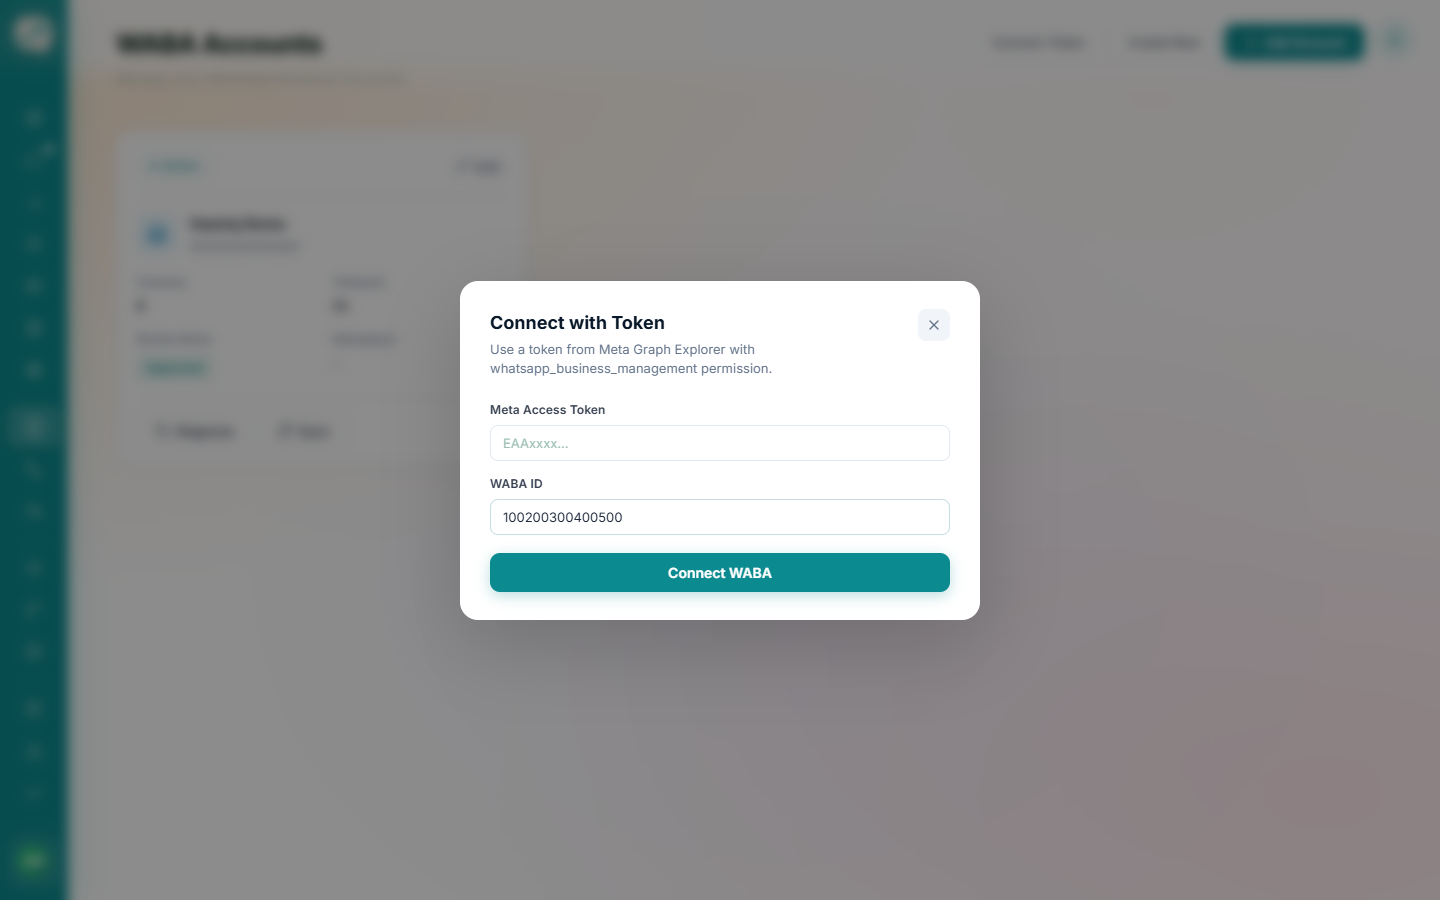
Or Connect with Token (developers/testing)
Paste a Meta Graph API access token and WABA ID directly. This is a developer shortcut for testing — it needs a narrower permission than full Embedded Signup, but it's not the recommended path for a first-time production connection.
Or Create New WABA
If you already have a Meta Business Manager but no WhatsApp Business Account yet, this provisions a brand-new WABA under it directly from Vaaniq.
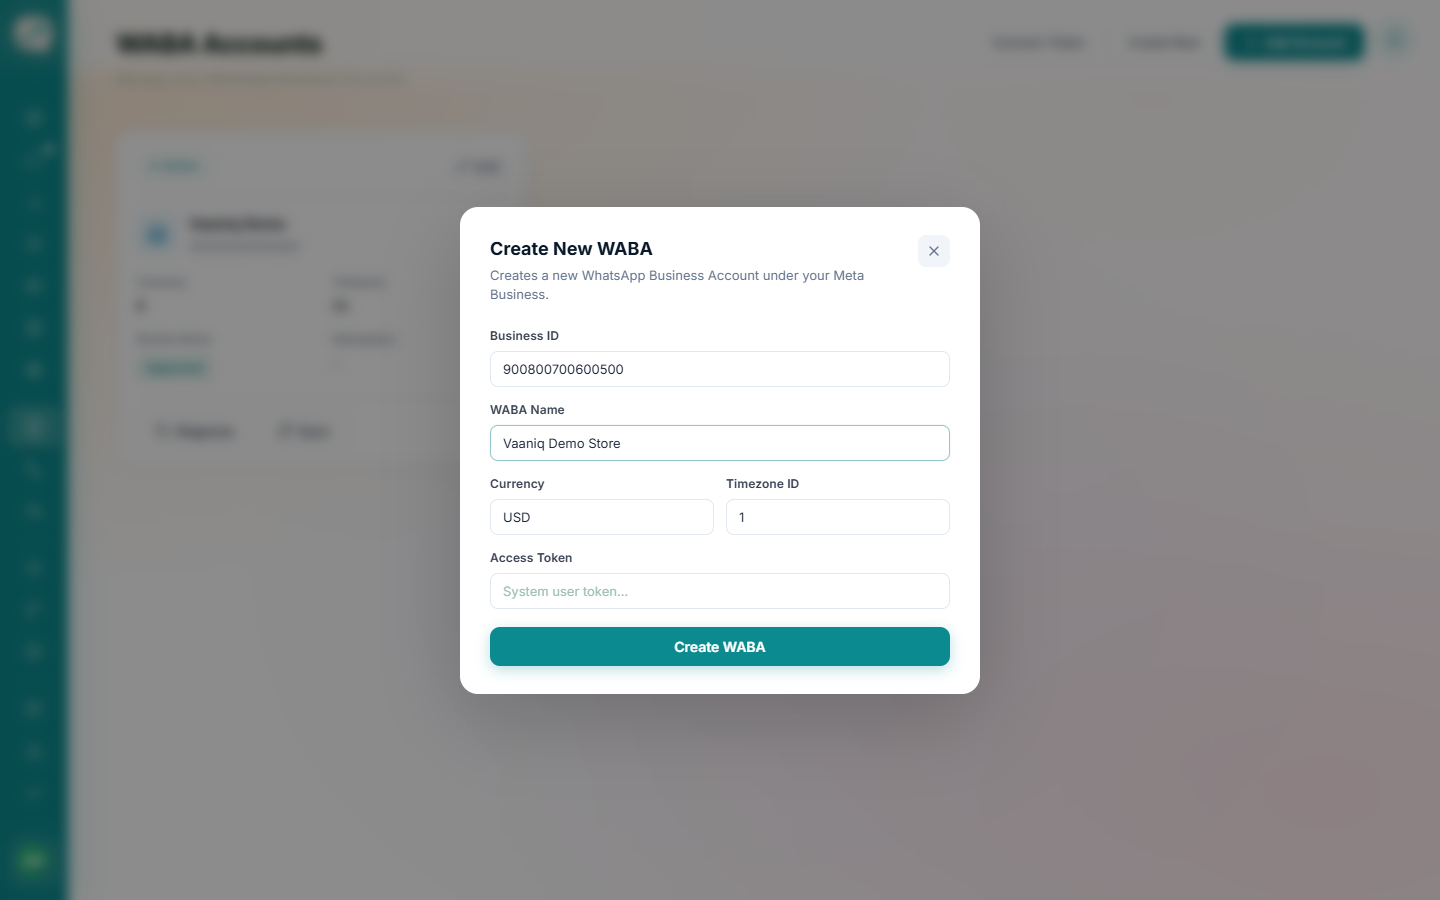
Manage a connected WABA
Once connected, each WABA appears as a card showing its business name, WABA ID, currency, timezone, and Meta review status. From the card you can Diagnose (check token/permission health), Sync (pull the latest data from Meta), Edit, or Disconnect.
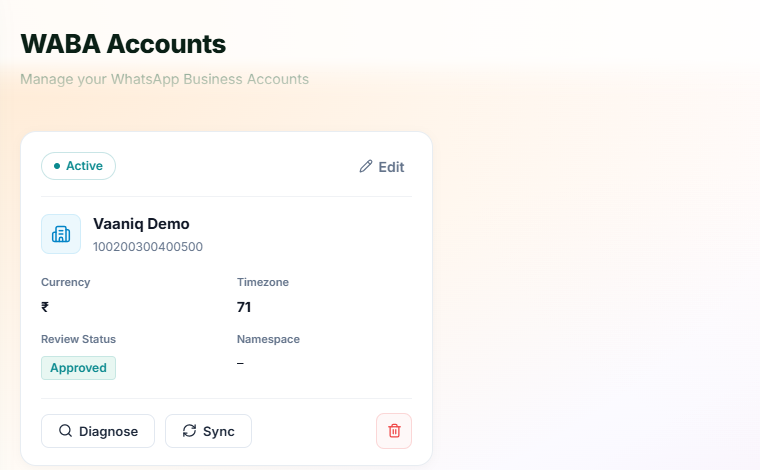
Phone numbers linked to a WABA appear automatically on the Phone Numbers page once the WABA is connected — you don't add them separately.